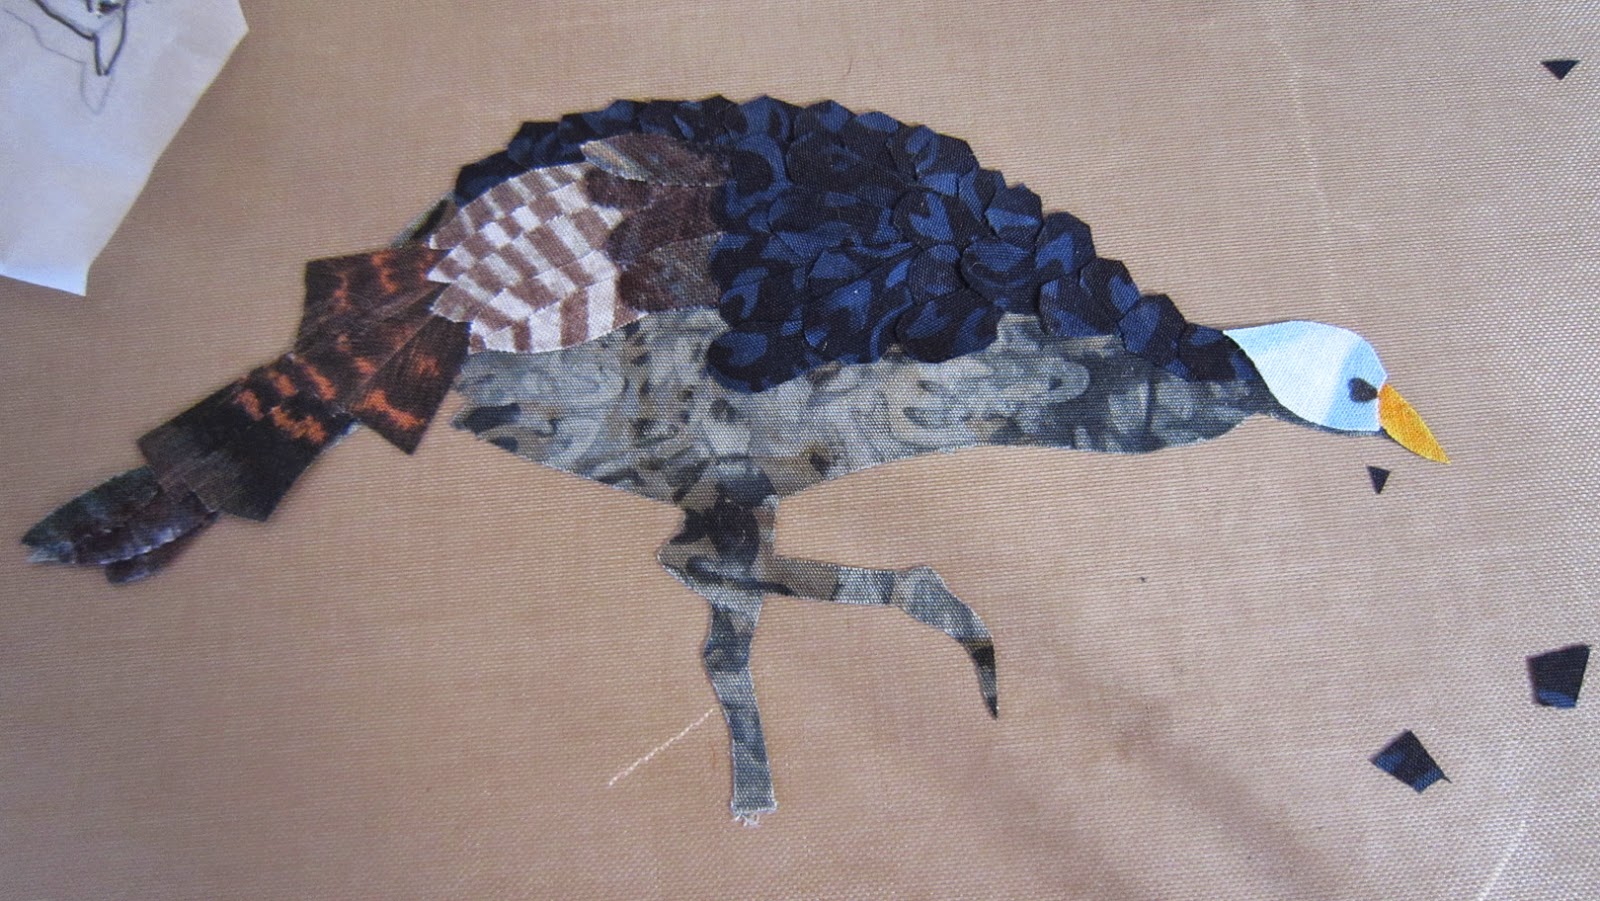
Once cut out he is facing the right direction.
It is important to keep you sketch in the opposite direction of the way the bird is facing so you do not trace and cut out parts for your bird that are not the reverse of what they will be when on the fusible only.
I have traced out the beak and the lighter part of the turkey's head on the fusible.
Then I place those pieces on selected fabric and fuse them, cut them out, and remove the fusible.
I place my tissue paper drawing on top of my silhouette of the bird and with a needle position those tiny pieces right were they need to be. I carefully remove my tissue and fuse it down. When doing animals or birds I also use my pin to poke a hole in the drawing so when this piece of tissue is on the head pieces I can take a prisma pen and push it through the tissue to mark exactly where I want the eye to be.
So here is the bird now....ready for feathers.
You can cut them any way you like....sometimes angular like these other time I round out the bottoms.
I usually cut a strip approximately the size I want the feathers and just cut back and forth until I have a pile ready to layer.
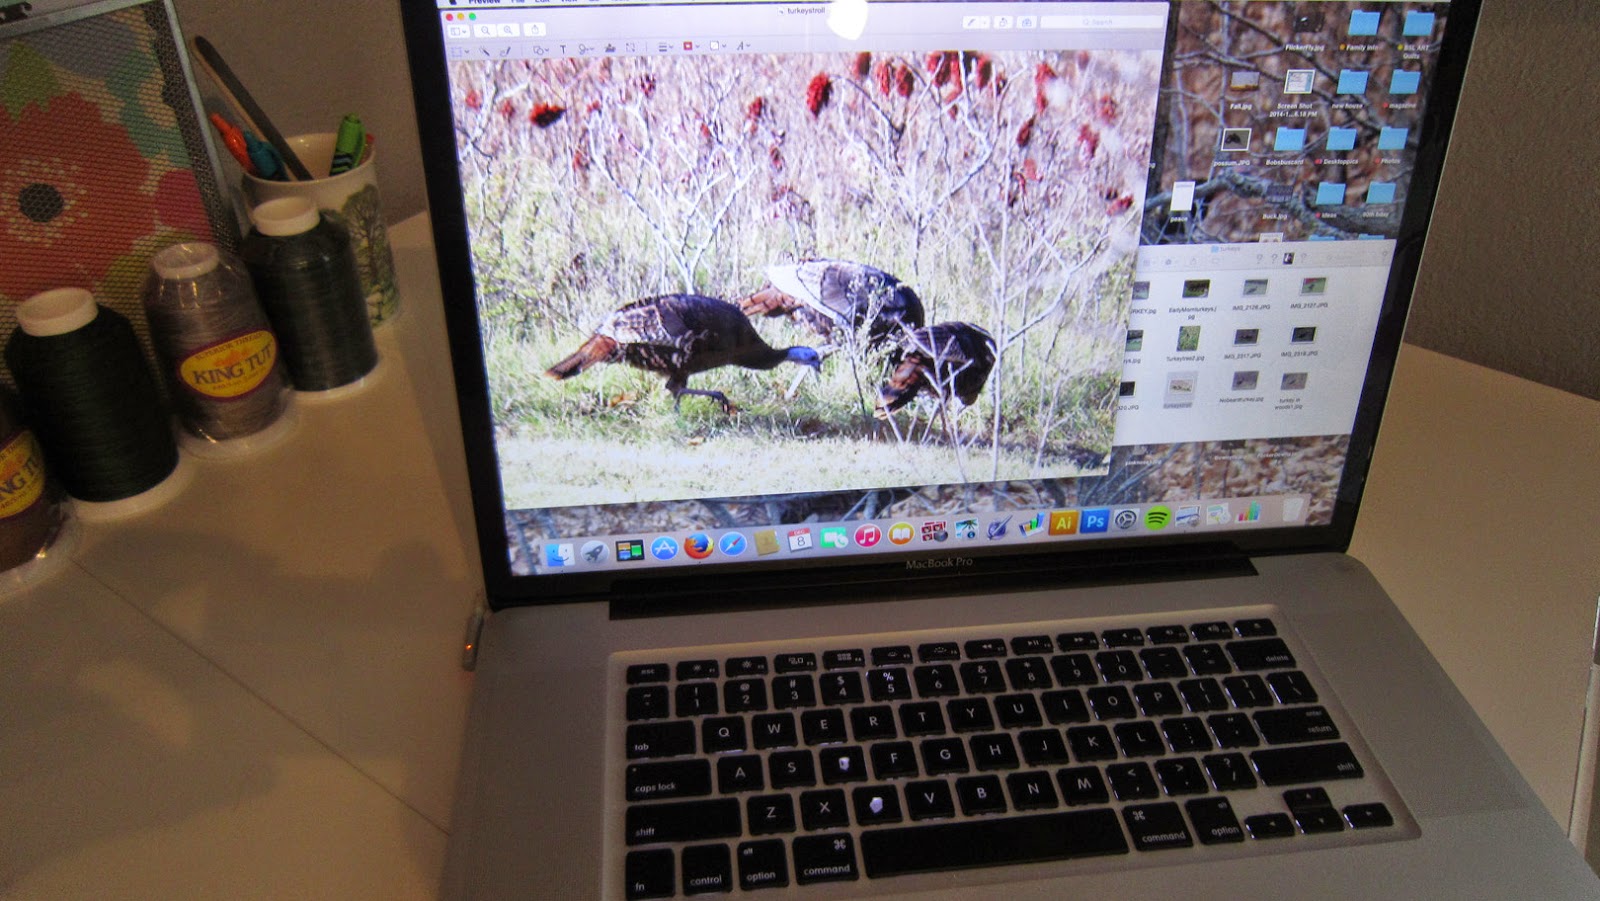
Through this all I keep my photo that I took up on my desktop to refer to when not sure of the fabric choices.
This is all I can do of these feathers because others must be done first.
I lay my sketch on and begin at the bottom of the tail.
I build up the tail from the bottom up.
The tissue is layed on the bird to make sure each layer and different fabric choices are where they need to be.
This is an example of a piece of fabric that many would not think would make a good choice for
feathers, but if you think "out of the box" so to speak, it is the perfect fabric for these turkey wings.
Once again these feathers are cut free form and layered under the tissue just where I want them to be.
Looking good.....
Now the brown feathers above the striped ones.....
....and then more of the irredescent black body feathers...
I double check to be sure I have enough body feathers and to also add the legs.
I think he is perfect.....
So I fuse him onto my background and he joins his buddies. Now it is time to quilt him and make him pop!
I hope this has helped you all understand my technique just a little better.


6 comments:
I can't tell you the times I have cut backwards, or forward which became backwards, lol. I usually trace it on paper, but i do have to use a light pad when I do that, tissue makes since since is is easier to see through.
Debbie
Amazing! Your work is beautiful!
I love that you show us a step by step and the whys of it all. And I love that turkey!!
Bellissimo!!!!Tutti i tuoi lavori sono stupendi...
Thank you! It makes perfect sense to me now. Fusing is so much easier.
What a great piece! And how wonderful for you to share with us your process...makes so much sense...now I see why your work is so amazing. You are very meticulous about your work.
Post a Comment